Countdown timers are a powerful conversion tool in eCommerce. By creating a sense of urgency, they encourage customers to make faster purchasing decisions and reduce cart abandonment. In this article, we’ll walk through how to create and configure a countdown timer for your product page, using the setup shown in the interface above.
Why Use a Countdown Timer on Product Pages?
A countdown timer visually communicates scarcity and time sensitivity. When customers see that an offer is limited, they are more likely to act immediately rather than postpone their purchase.
Key benefits include:
Increased conversion rates
Reduced decision fatigue
Higher perceived value of promotions
Improved performance during flash sales or limited-time offers

How to Set Up a Countdown Timer on the Product Page
To create a countdown timer for your product page, follow these steps:
Go to Cross-sell & Upsell Widget
Select Product page
Navigate to Countdown Timer
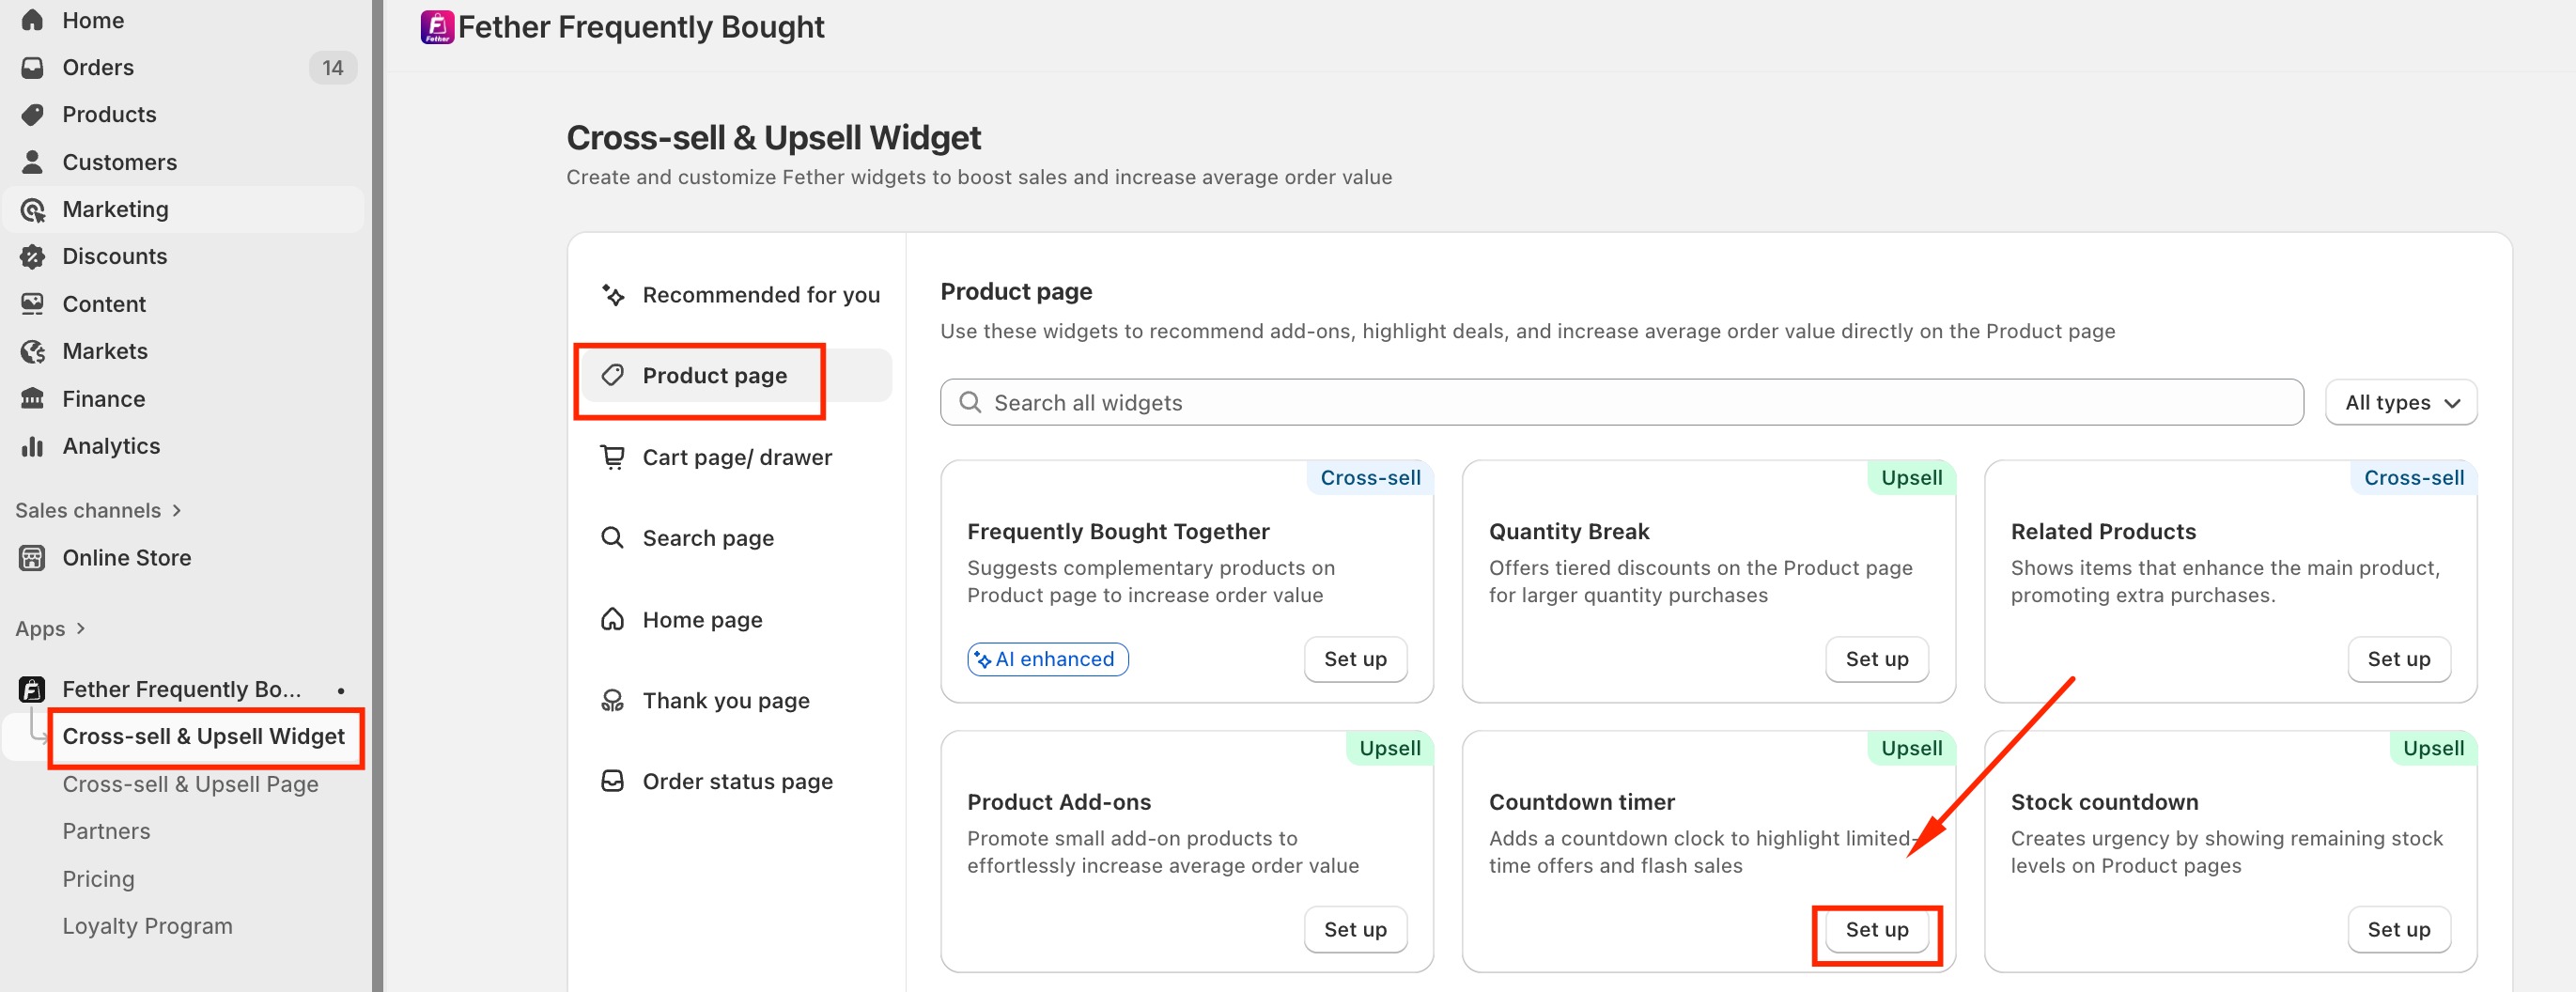
Click Add Timer
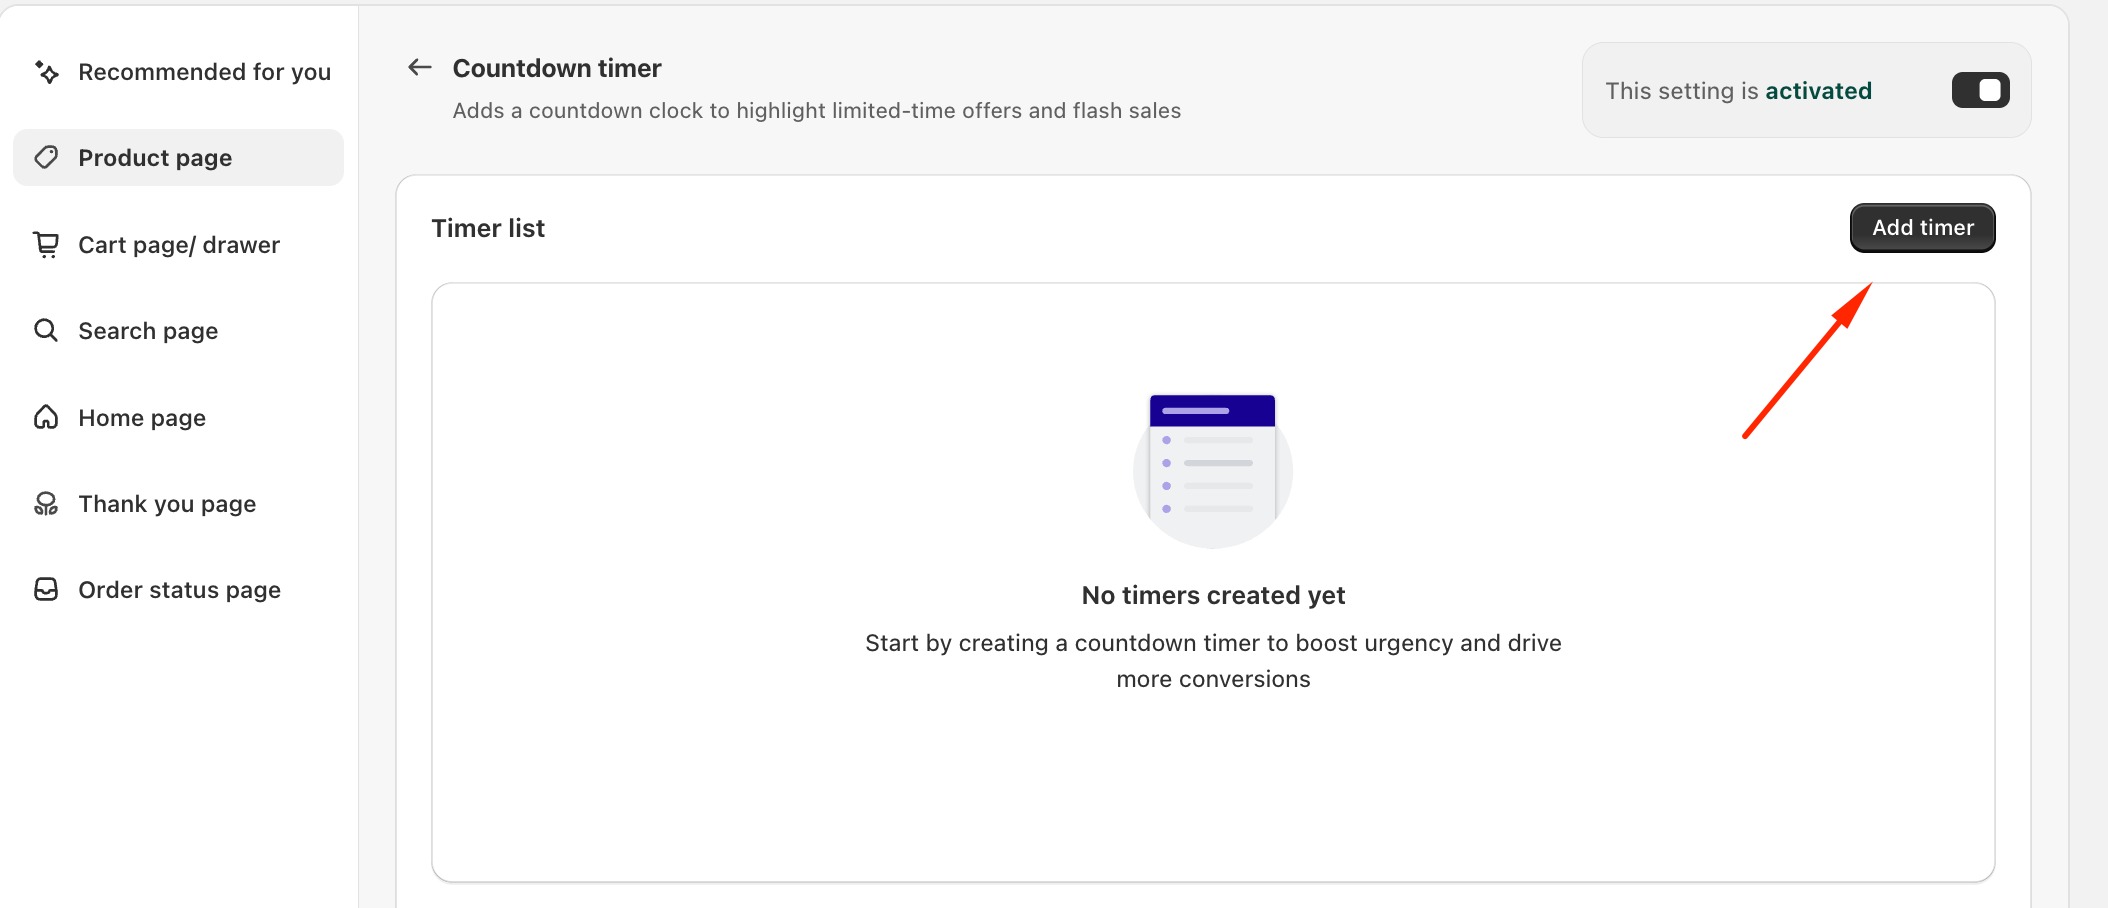
Once inside the setup screen, you can begin configuring your timer.
General Settings Configuration
1. Countdown Timer Name
Give your timer a clear internal name (e.g., Flash Sale – Product Page).
This name helps you identify and manage multiple timers later.
2. Timer Duration
Set the length of the countdown:
Enter a numeric value (for example, 5)
Choose the time unit (minutes, hours, or days)
This timer can be used to simulate urgency, such as “reserved for the next 5 minutes.”
3. Heading (Optional)
Add a short headline like:
“Limited Time Offer”
This heading appears above the timer and immediately grabs attention.
4. Announcement Text
Use this field to explain what the countdown means.
Example:
Your product is reserved for
This text reassures customers while reinforcing urgency.

What Happens When the Timer Ends?
You can control the behavior of the timer after it reaches zero:
Hide the timer
The timer disappears once the countdown ends (recommended for authenticity).Repeat the countdown
The timer automatically restarts.
Choosing the right option depends on your campaign strategy and brand transparency.
Display Settings: Choose Where the Timer Appears
To ensure relevance, you can control which products show the countdown timer.
Available Options:
Specific collections
Apply the timer to all products within selected collections.Specific products
Manually choose individual products where the timer should appear.
This level of targeting prevents overuse and keeps the urgency meaningful.
Conclusion
A well-implemented countdown timer on your product page can significantly improve user engagement and sales performance. By configuring the timer duration, messaging, and display rules carefully, you create urgency without damaging trust.
Used strategically, countdown timers turn hesitant browsers into confident buyers—right when it matters most.
If you require further assistance, please don't hesitate to contact us at support@fether.app.
Was this article helpful?
That’s Great!
Thank you for your feedback
Sorry! We couldn't be helpful
Thank you for your feedback
Feedback sent
We appreciate your effort and will try to fix the article